Trade Show Display Setup & Care Guide
Short answer: most trade show displays set up tool-free in minutes, but they last far longer when you weight them properly, pack them down clean and dry, and store graphics rolled rather than folded. This guide walks through setup, teardown, cleaning and storage for each display type so your booth looks sharp show after show.
Before you leave for the show
A little preparation prevents most on-site problems. When your order arrives, open every box and check the contents against the packing list while there is still time to fix anything. If you have never assembled the display, do a full dry run at the office or at home — it is far easier to learn the frame in a quiet room than on a crowded show floor during move-in.
- Confirm you received the frame, graphic, and any bases, feet, weights or carry bags.
- Do a practice setup and teardown so the real thing takes minutes, not stress.
- Note which case or bag each part lives in, so repacking is obvious.
- Charge or pack any lighting and bring spare zip ties and gaffer tape — the universal booth repair kit.
Because every Apex order prints only after you approve a free artwork proof, what arrives is what you signed off — so pre-show checking is about hardware and logistics, not surprises in the print.
Setting up a canopy tent
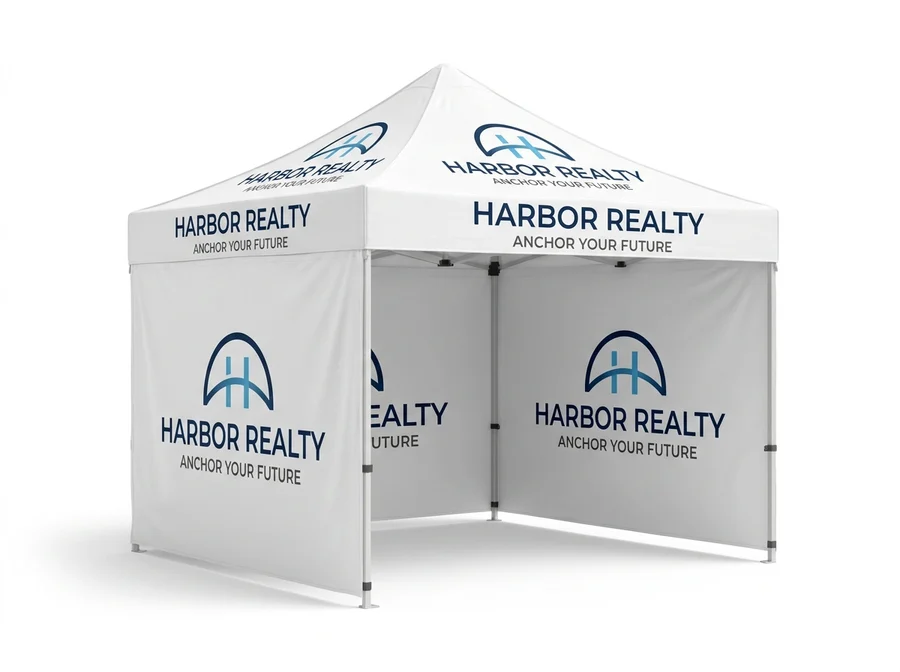
Pop-up canopies use an accordion frame that expands in minutes. Spread the frame partway, seat the printed top over it before locking it fully open, then extend the legs to height. Work with a second person where you can — it is quicker and easier on the fabric.
The single most important step outdoors is weight. On the hard surfaces typical of parking lots, plazas and convention aprons you cannot use ground stakes, so add a weight bag to every leg. Wind is the number-one cause of canopy damage, and a gust under an unweighted top can lift the whole frame. If you have printed walls, a back wall plus side walls also cut the wind load while adding branding.
To pack down, reverse the process: collapse the legs, lift the top off (don’t drag it), fold the frame, and return the graphic to its bag. Never pack a wet top — see storage below.
Setting up banner stands
Retractable banner stands are the fastest display to deploy: unfold the base foot, pull the graphic up by the top rail, and slot in the support pole. The critical habit is on teardown — retract the graphic slowly and under control. Letting it snap back into the base is the most common way retractable banners get creased or jammed. Guide it down with one hand.
X-stand banners hook a grommeted graphic onto a lightweight X-frame; check the tension is even on all four corners so the print sits flat. Tabletop banners work the same way at a smaller scale for counters and reception desks.
Setting up backdrops and table covers
Step & repeat and tension-fabric backdrops assemble from a tube or extrusion frame that snaps together, then the fabric graphic slips or zips over it. Build the frame fully before fitting the graphic so the fabric ends up evenly tensioned and wrinkle-free. Adjustable frames let you dial the exact width — set it before you stretch the graphic on.
Table covers simply drape (pleated) or stretch (fitted) over a standard table; smooth the top and align the front panel so your logo sits centered and straight. Fitted stretch covers should be pulled down evenly on all sides for a tight, modern look.
During the show
Keep weight bags on outdoor canopy legs for the whole event, not just setup — afternoon wind can arrive fast. Do a quick daily walk-around: straighten table covers, re-tension any fabric that has relaxed, and wipe down surfaces at eye level where visitors notice smudges. Small touch-ups keep the booth looking intentional through a multi-day show.
Packing down and cleaning
The golden rule is simple: pack down clean and dry. Sealing a damp canopy top or fabric graphic in its bag is how mildew and musty smells start. If it rained, or the fabric is even slightly damp, let it air-dry fully before it goes back in the case — at the venue if you can, or spread out at home that evening.
- Fabric graphics (dye-sublimated): spot-clean with a damp cloth and mild soap; let dry fully before storing. Many fabric table covers are machine washable on a gentle cycle — check the product page for the specific item.
- Vinyl banners and canopy tops: wipe with a damp cloth; avoid harsh solvents that can dull the print.
- Frames and hardware: wipe off dust and grit so joints keep moving smoothly; check for loose fittings.
- Graphics storage: roll large graphics rather than folding them where possible — folds can leave creases, especially in vinyl. Retractable graphics stay rolled inside their base.
Storing displays between shows
Store everything dry, out of direct sun, and away from extreme heat. Long spells in a hot car or attic can soften some materials over time, and constant UV will eventually fade any print left exposed — so keep displays in their cases when they are not in use. Stand retractable banners upright, lay backdrop frames flat, and keep weight bags empty and dry (fill them with water or sand on site, then empty and dry them before storage).
Because Apex graphics are dye-sublimated — the ink is bonded into the fabric rather than sitting on top — colors hold up well to repeated handling and outdoor use. And when your message or branding changes, most systems let you reprint just the graphic and reuse the frame, which is the most economical way to keep a booth current.
When to replace a graphic vs the whole display
If the frame is sound but the print is dated, damaged or off-brand, replace the graphic only — retractable cassettes, SEG fabrics, canopy tops and table covers are all replaceable while you keep the hardware. Replace the frame itself only if joints are bent or broken. This graphic-first approach keeps costs down and waste low across the life of the booth.
Common setup mistakes to avoid
A handful of avoidable errors account for most damaged displays and stressful move-ins. Watch for these:
- Skipping weights outdoors. An unweighted canopy is one gust away from damage or injury. Weight every leg, every time, on every outdoor setup.
- Letting a retractable snap shut. Guide the graphic down by hand; a fast retract creases the print and can jam the mechanism.
- Packing away damp. Trapped moisture causes mildew and odour. Dry fabric and canopy tops fully before they go in the case.
- Folding vinyl graphics. Roll where you can — sharp folds leave visible creases that are hard to remove.
- Fitting the graphic before the frame is fully built. On backdrops, build and lock the frame first so the fabric ends up evenly tensioned and wrinkle-free.
- No dry run. First-time assembly on the show floor wastes move-in time; practise once beforehand.
- Forgetting the repair kit. Spare zip ties, gaffer tape and a multi-tool solve most on-site surprises.
Matching your setup to the venue and weather
The same display asks for different handling depending on where you set it up. A few situational adjustments keep it looking sharp and protect the hardware.
Indoor convention halls. Large venues often use union labor and an official freight contractor, and shipping to the advance warehouse before move-in is usually smoother than delivering to the floor on setup morning. Portable displays — retractable banners, fabric backdrops and table covers — can travel as a case or tube and set up without a crew, which saves both time and material-handling cost.
Hot, high-UV climates. In cities like Las Vegas, Phoenix and Miami, a printed canopy earns its keep as shade, dye-sublimated graphics resist fading under strong sun, and weights are non-negotiable on hot, hard surfaces. Give fabric a moment to relax and re-tension after it comes out of a hot vehicle.
Windy or coastal venues. Bump up the weight on every canopy leg, keep side walls ready to cut wind load, and check tension on fabric graphics through the day as gusts work them loose.
Cold-weather and winter shows. Protect graphics from snow, road salt and damp in transit, and let anything cold and slightly damp reach room temperature and dry before you seal it away. Dye-sublimated fabric re-hangs crisp once it warms up indoors.
Recommended products
- Custom canopy tents — with weight bags for any outdoor setup.
- Retractable & X-stand banner stands — replaceable graphics, tool-free setup.
- Step & repeat backdrops — adjustable frames with re-tensionable fabric.
- Table covers — machine-washable fitted and pleated options.
New to buying? Start with what a display costs and the trade show booth checklist.
Frequently asked questions
How do I keep a canopy tent from blowing away?
Always put a weight bag on every leg for outdoor use — on hard surfaces you can’t use stakes, and wind is the main cause of canopy damage. Adding printed walls also reduces wind load.
What’s the most common way banner stands get damaged?
Letting a retractable graphic snap back into the base. Always retract it slowly and under control with one hand to avoid creases and jams.
Can I machine wash a fabric table cover?
Many fitted fabric table covers are machine washable on a gentle cycle — check the specific product page. Dye-sublimated fabric handles washing well; let it dry fully before storing.
Should I fold or roll my graphics for storage?
Roll large graphics where possible rather than folding them, since folds can leave creases (especially in vinyl). Retractable graphics stay rolled inside their base.
How do I stop my display smelling musty?
Never pack it away damp. If it got wet, air-dry the fabric or canopy top completely before sealing it in its case — trapped moisture causes mildew and odour.
Do I have to replace the whole display when my branding changes?
Usually no. Most systems — retractable stands, SEG backdrops, canopy tops, table covers — let you reprint just the graphic and reuse the frame, which is the most economical way to refresh a booth.